Tuesday, July 19, 2011

oh.my.gosh....

I CANNOT believe I forgot to blog about this one specific event that happened this summer. Here's the background.

I pretty much love Bakerella. When I went to Cupcake Camp I met her.


It was definitely a happy moment in my {very} amateur baking career!!

Over the year and a few months that I've known about cakepops...I've made quite a few of them that you can see here. I also have NO doubt there are many more to come!!

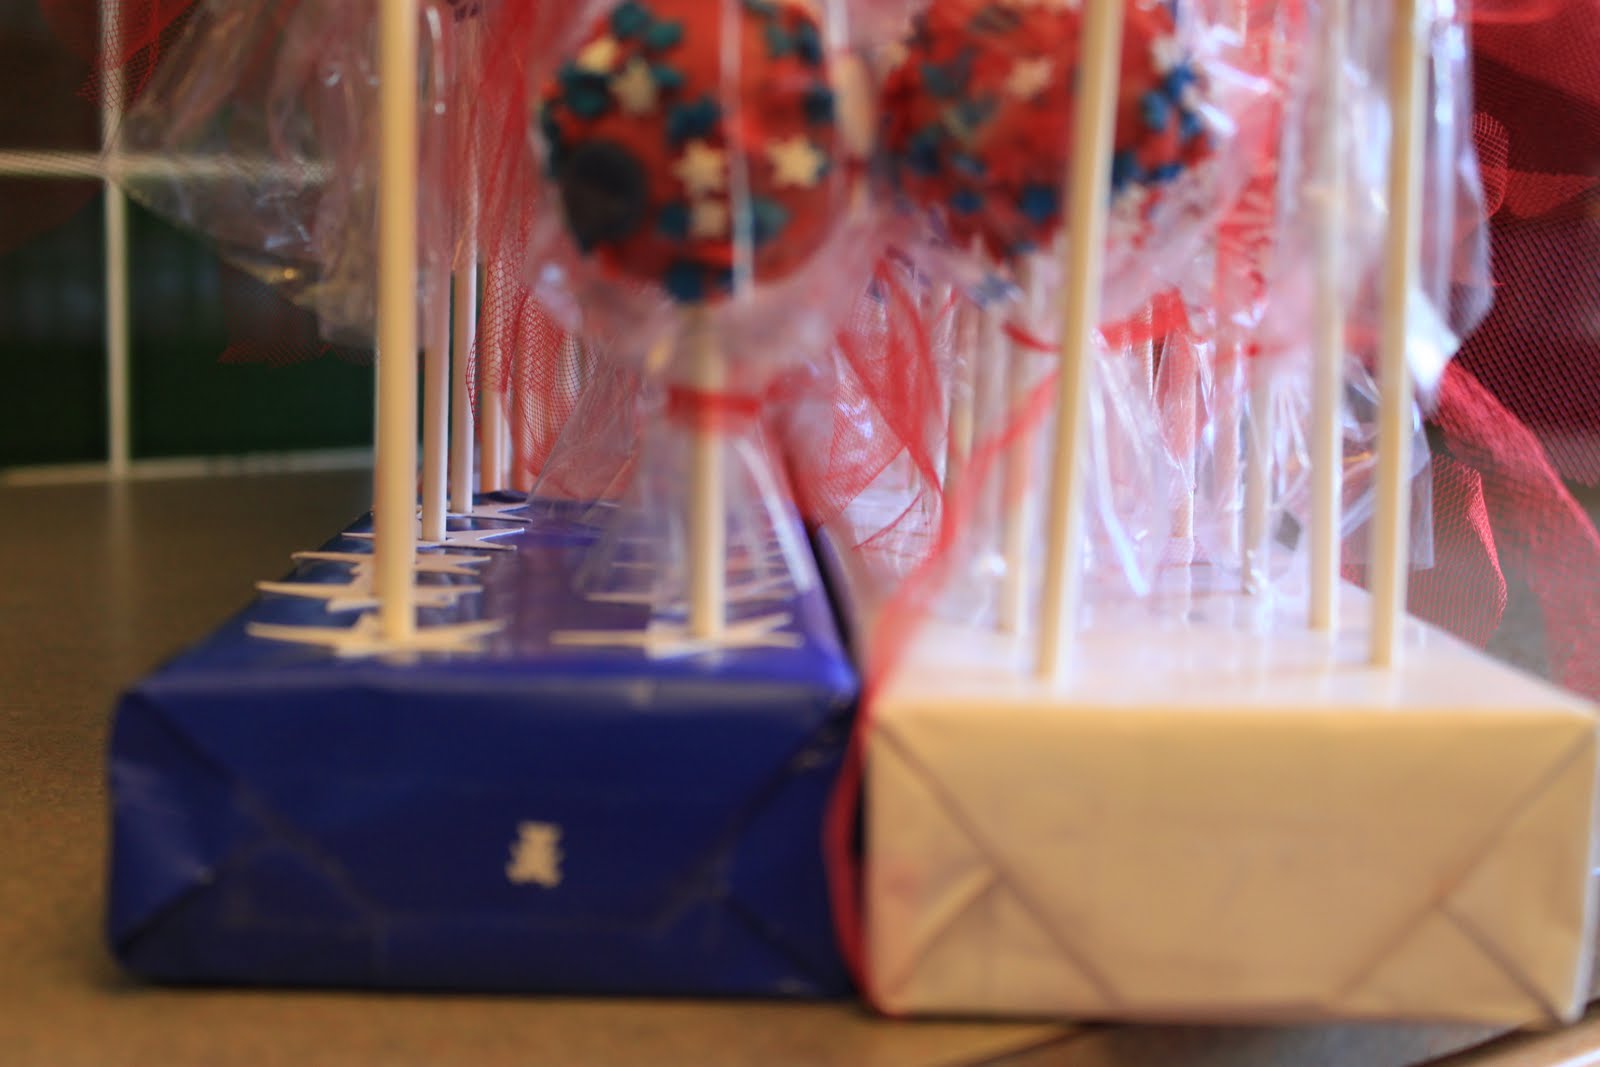
After I made my 4th of July cakepop stand I decided to send a little email out to the one and only Bakerella...see, she has this spot on her website called pop starts. It is a goal/dream/no longer a secret of mine to be a pop start someday :) I knew this cakepop stand wouldn't get me on pop starts - but I wanted to share it.

Flash forward a few weeks...I'm sitting at my cousin's house in Phoenix, AZ. It's like midnight and we are headed for bed. I check my email one last time and I see this...


I wanted to FREAK OUT...and on the inside I kind of was!!!!!!!

I, of course, had to go check the Internet to make sure it was real....


AND IT WAS!!!

I am a dork.

Wednesday, July 6, 2011

stars, stripes, and a cakepop stand!!

For the past few rounds of cakepops I've been using some pretty simple materials to both try, transport, and display the cakepops...2 by 4's!!

For the 4th of July I decided to spice it up a bit and add some patriotism! I decorated on of the 2x4's in all white and one in about 2/3 red and 1/3 blue...all wrapping paper. I bought the red and white and The Dollar Tree and the blue was left over from something some time ago!

The finished product.

Soooo...here is what I did :)


I started with the 2x4's blank. No pops, no nothing.


Then I wrapped just like you would a present, but maybe with some more tape, to make sure it was all very secure since I would be transporting them in the 2x4's.

One of the hardest parts was finding where the holes were. All you need to do is run your finger the length of the board where about you think the holes should be and you'll see a little divot form...like below.


I used a kabob stick to pierce the paper...


I then added the blue paper over the red paper because it was way easier!


Then it looked like this but I definitely needing something else!!


STARS!!

I used 1 1/4" stars that I cut out using my cricut. I hole punched them with a standard hole punch, though if I'd had one that was a bit smaller I definitely would have used that one!!


Then I used this sticker maker {I don't know the technical name} to adhere the stars to the stripes :)

Voila!!


In action!!!

Tuesday, July 5, 2011

stars, stripes, and 4th of July cakepops!!

 I used to make cakes...now I apparently make cakepops {not that I'm complaining}...


My dear friend Kim {seen above} wanted to learn to make cakepops and what a better excuse than the 4th of July!! On a recent trip to the Decorette Shop in Tigard, OR I picked up a wide variety of red, white, and blue sprinkles of all shapes and sizes!!

I also made a "custom cakepop stand" but more on that in a different post...


Here is a variety of the cakepops before we bagged them. It would have been a lot of work to get a picture of every single one...but I think you get the jist :) There were so many cute ones.

We used two melting pots, one all red and one started white and then we use Wilton Sky Blue oil candy color to tint it. I used AmeriColor Edible markers to write the letters U S A on some of the pops. Inside of the pops are two different flavors, Red Velvet with Cream Cheese and White cake with Vanilla frosting, half of which I dyed blue for the occasion :)

I also made a really sweet carrier/displayer!


Here's a sneak peak :)


From the end.

At the party :)

These were SO much fun.

On a side note, the hostess of this party has asked me to make cakepops for another event she is attending...it is my first official cakepop order :)