Showing posts with label decor. Show all posts

Thursday, December 1, 2011

Fun Frames ~ JOLLY

My house didn't get as crazy-decorated as I'd had liked for Christmas - being sick will do that to you!! I was on the tailend of my 3 month long cold when Christmas decorating rolled around. I have big plans for next year...which WILL include my snow village which did not make an appearance this year!!

The Fun Frames words for this holiday season were tough to figure out. We aren't religious so anything pertaining to religion was out. Though, thankfully, that still leaves plenty of other options!! My montra this season was "I believe in the spirit/magic of Santa" because for us, he is one reason to celebrate the season. And who doesn't like getting a present from Santa under the tree :)

JOLLY seemed like the fitting word. I LOVE how the red and white swirls went nicely with the dark green I picked out from JoAnn's.

Fun Frames 2011

above the TB

Subway art from eighteen25

The mantle.

I love our candels. The Santa's are painted by me when I was a kid.

The tradition of "teddy bear in the stocking"...I love this tradition my hubby started for me.

Shelf in the kitchen.

Our stocking. Lovingly made by my wonderful Grandma Cole...

The whole mantle.

Wednesday, November 23, 2011

Fun Frames ~ gobble {gobble}

Thanksgiving really snuck up on me this year...and considering this weekend it is my goal to catch up on the last, oh, 4 months of blog posts...this one is going to be right on time!

I didn't do a whole lot of shopping for decor for this season. I was still so sick at the beginning of November {yeah for double ear infections and sinus infections at the SAME time at the age of 28...}. All I really bought was the fake little pumpkins and the mixture that is in the bottom of the candle holder tray...All in all I'm not as happy with my Thanksgiving decorations as I was with my Halloween ones...maybe next year...

above the tv...

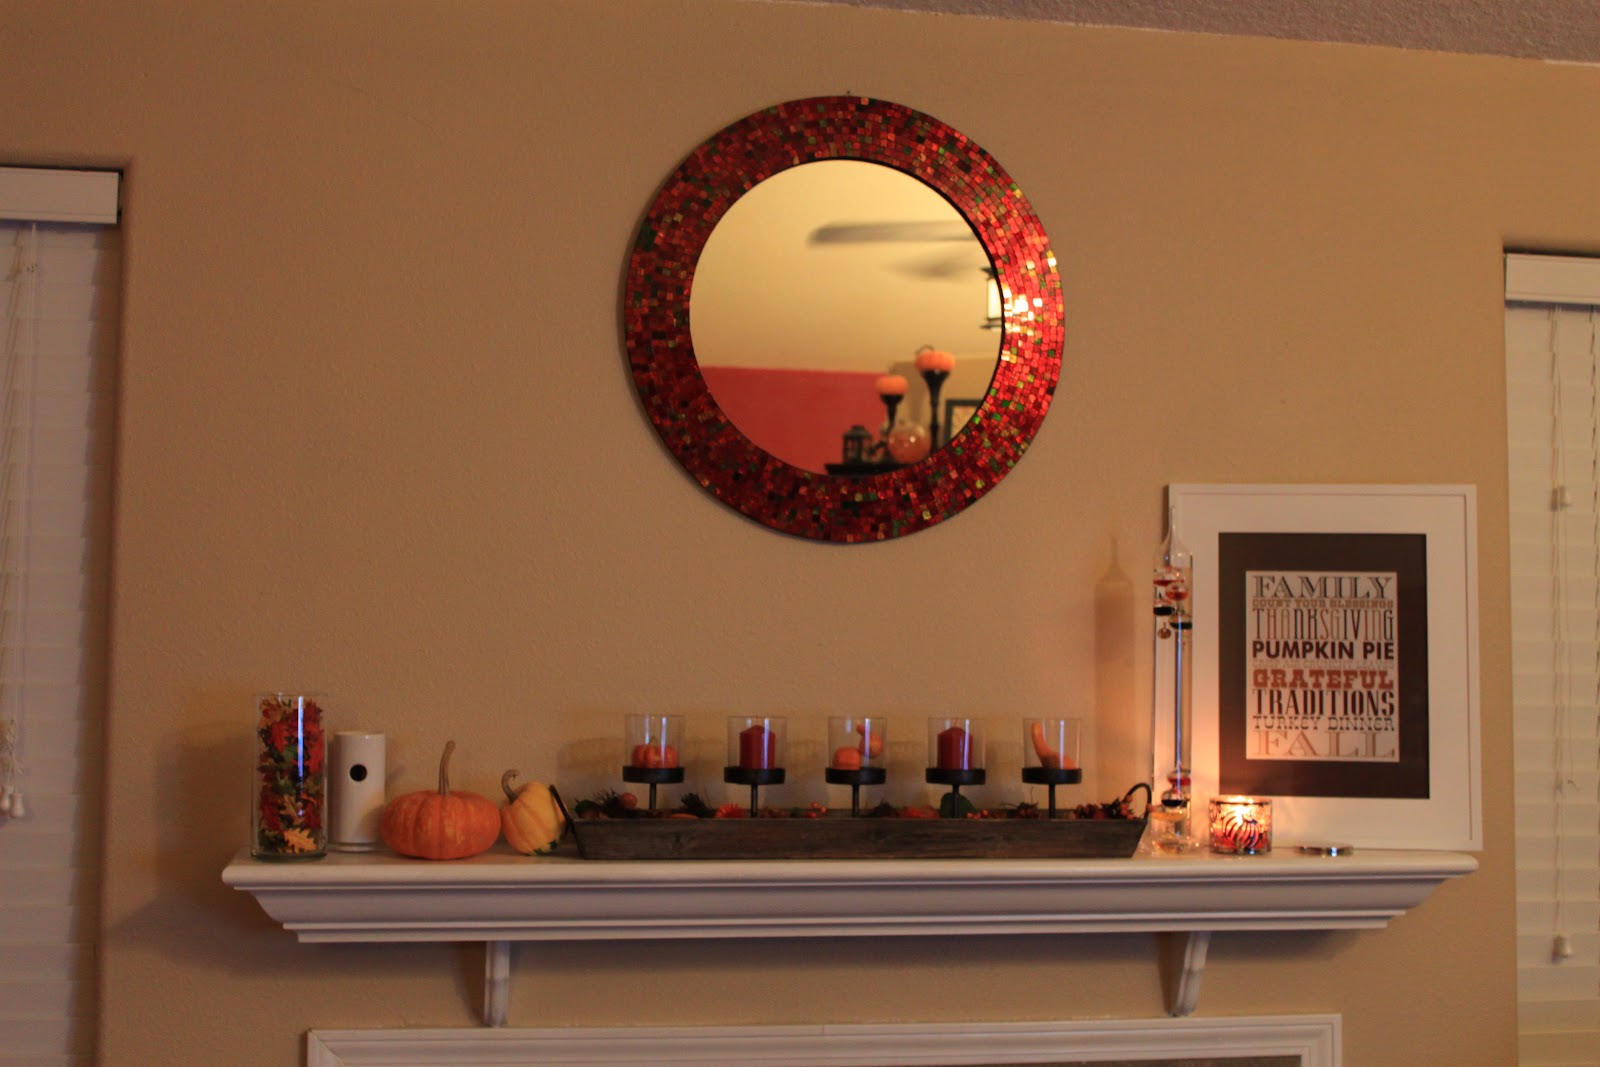
The Thanksgiving mantle

Isn't he the CUTEST turkey candle you've ever seen?!?!

Our pumpkins from our Elements Glass Trip.

Jason's pumpkin when there is light behind it...

and when there is not...

Subway Art from the girls at eighteen25

The fall decorations crept into the kitchen...


Monday, October 31, 2011

Fun Frames ~ BEWARE!!!

I had the same Fun Frames all summer...I always have plans (grand plans) for what I am going to do on my summer vacation and this summer, as in summer's past, I haven't accomplished much!! After my last post about one of my favorite's birthday party...I went on vacation, started school, and was sick from September 30th - oh, last week (which is MID NOVEMBER!!!).

Moving on...

I had a blast decorating (and shopping for decorations) for Halloween this year. I wanted to have decorations for Halloween that were on the brighter side! I decided to mainly use the colors orange, black, purple, lime green, yellow and a few silver spiders :) I think I bought about $30 worth of decorations - I was just too impatient to wait until after Halloween to decorate :)

I had a hard time choosing a word for Halloween. The words that were in the running were: BOO!, EEK!, beware, spooky, ghost. I ended up choosing 'beware' and used the "creepy" font from Microsoft Word.


The mantel during Halloween.

The standard teddy bear, some tea lights from forever ago, and candy corn*
*candy corn level suspiciously kept getting lower and lower during the month... 

I really love this piece. It is from Craft Warehouse. It is SO versatile!

Eyeball & glass bead mixture and silver spiders from Pier 1. Fuzzy balls from CW.

Subway art from the girls at eighteen25!!!

Spiders from Pier 1.

Witch's Hat from CW.

Wicker pumpkin - CW. Purple pumpkin - P1.

Teddy bear from Starbuck's. Pumpkins from CW. I wish I'd gotten a better picture of the glittery candy corn from P1. It is cute!!!

Love it!!! I should have taken pics of the other items...silly me!


Sunday, June 26, 2011

fun frames...spring {patience}

This spring for us has been about patience. Patience with each other, with situations we are in, with ourselves. These fun frames have actually been up for a while but I just got around to blogging about them. The end of the year for a teacher is...busy, to say the least!!

I knew this was the word I wanted to use but I didn't know colors or anything so I went to craft warehouse for some inspiration...and I found some {surprise, surprise}. I saw a lot of fun spring colors but decided I liked the green/pink/white color palette best. Since I can't change the red/khaki of the walls I figured this would go good together! Plus basically everything except for the pink I could reuse in other seasons...BONUS :-)


I used my Cricut to cut the letters, SureCutsALot to make the letters and flowers, and DaFont.com to find the letters - These letters are called "sunshine poppy" and they are my favorite!! Once I had the following decor I needed to decide what colors to make all the pieces of the fun frames. Looking back I kind of wish I'd done the green on the background, the white on the letters, and kept the pink flowers, alas, I did not.


The mantel. The wooden piece with the glass votives can be changed out every season!!
Thanks to the girls at eighteen25 for the Subway Art!!


Spring votive.


The space above the TV.

The three hurricanes. Similar colors, different sizes and fillings!!
These are all above the TV.

Tuesday, March 22, 2011

Fun Frames ~ Egg Hunt

Keeping up with my Fun Frames has been really fun! This holiday {Easter} was hard for me to pick a word. I really wanted 'hippity hop' but I didn't have enough frames, and I don't think that many would even fit on the shelf. I decided on 'egg hunt' after seeing some awesome scrapbook paper at Craft Warehouse.

See Easter, for us, is about celebrating spring, family, growing, and a cute little bunny :) I called it "bunny day" and I wouldn't have it any other way. Wow, totally didn't mean to rhyme! Remember LAST YEAR's dessert?? I'm still deciding how to top that!!


Fun Frames with some additional decor {more on those later}

I'm in LOVE with my teddy bear rabbit! Also, this is the first 'subway art' I've created. It isn't quite as good as the girls at eighteen25 do, but it is a start :)

Monday, March 21, 2011

crafty carrots...

Even as I type the post title it seems a bit weird. I was inspired by Martha's crepe-paper-carrots but thinking about my desire to use what I already have in the house for projects. Mine are certainly not as cute but they aren't too bad either :)


Directions

*The inside of the carrot color doesn't matter since you won't be able to see it. I only had 1 sheet of orange left so I used yellow on the inside.

1. Materials - 1 standard piece orange tissue paper. 1 standard piece other color tissue paper*. 10 pieces green tulle, cut into 2X6 inch pieces.

2. Cut inside tissue paper {color doesn't matter since it won't show} into 1/4ths.

3. Pinch tissue squares in the middle, crating a cone shape.

4. Gather open end of tissue paper sphere.

5. Using double sided tape adhere orange tissue paper to the inside color. Roll until the carrot looks whole.

6. Cut of excess.

7. Using double sided tape adhere the green tulle to the yellow part of the carrot.

8. Cut 1/4 inch strip of orange tissue paper and wrap around the shaft between the tulle and orange tissue paper.

Saturday, February 19, 2011

a jar full of rainbow...

Well, not really a jar but you get the picture.

I LOVE rainbows and I think rainbows go hand-in-hand with St. Patty's Day!! Now only if I was crafty enough to make a little leprechaun :)

I've tried this month to cut down on my crafting spending...I went a little crazy between November and well, the beginning of this month. In trying to work with it yet still find projects to do to make our house nice I had to think outside the box, or in this case, inside a vase.

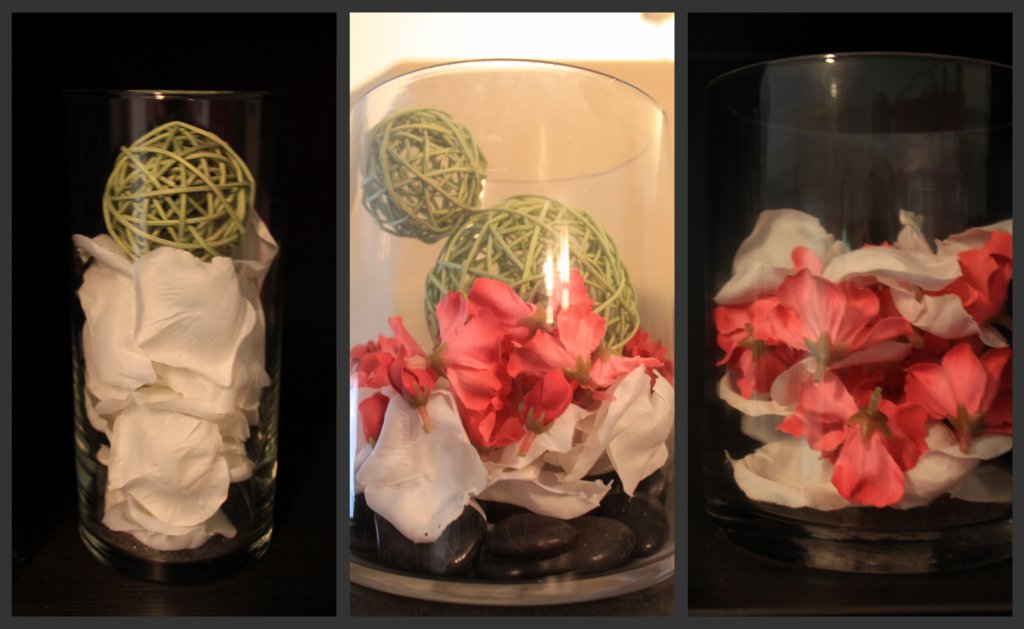
I found the deal of the year at Craft Warehouse!! I had been thinking about getting a glass vase for decor items for a few months because of the versititly of it. Well turns out that Craft Warehouse puts their display vases/items up for sale for like 95% off! I kid you not, I bought a $22 vase for $1.99 - and I didn't even mean too!! I got up the cash register and the cashier discovered the little $1.99 sticker and said "Wow, I'm surprised you found this, usually employees snatch them right up!" Now I will forever be on the hunt for the item that looks worn and has a little, tiny sticker on it. All I had to do was wash it! That was totally worth the twenty dollar savings!

Okay...on to the project!!

I wanted to do something with rainbows. Something in my new vase. Something cheap and that I already had on hand. Somewhere from the depths it hit me...tissue paper!!!


I actually had all but one of the colors {blue} which I got pretty easily :)


happiness


In action!

This project took about 20 minutes to make - another bonus! I took half a sheet of tissue paper in red, orange, yellow, green, blue, indigo, violet. I folded the half sheet of tissue paper into a long roll. I cut that roll into strips, held them all in my hand and snipped into about 1/2 inch by 1/2 inch pieces. I should have taken step by step pictures but it was SO EASY that I kind of forgot too!


I am very happy with the results. Most of the tissue paper {except for blue} I had on hand in my wrapping paper station so that was free and then I got the stellar $1.99 deal on the vase. I'm happy because it is a rainbow decoration and I'm happy because it was cheap!!

Sunday, January 9, 2011

feeling felt-y...


The second I saw these hearts which the ladies at eighteen25 had seen here I knew I had to make them!

Friday night after a little HH I finally set out on my mission to gather my materials, knowing that on Saturday my FIL would be here and the Seattle Seahawks were in the playoffs...so I knew there would be ample football watching time. I do (for the record) enjoy watching football...but I enjoyed it a bit more while making a craft!

I first stopped at Craft Warehouse where I was shocked that they didn't have the Styrofoam heart wreath I needed and only have white and red felt. I knew I wanted at least one pink! Then I headed to Michaels where they had nothing I needed for this project. I then called JoAnn's since it was like 7pm b this point and I didn't want to drive up there if they didn't have what I needed...but they did! All of it! Yeah JoAnn's!!!

*JoAnn's staff members sometimes don't catch that I have like 4 names I get coupons under. This one did. So I only got to use 1 :(

Here is what I bought:
3 Styrofoam wreathes @ $3.99 each. I had only one 40% off coupon* = $9.59 total.
1 yard red felt @ $2.99/yr (already on sale) + .5 yard red felt end of bolt @ $.21 = $3.20
1/2 yard baby pink felt @ $2.99 yard = $1.50
1/2 yard white felt @ $2.99 yard = $1.50
1/2 yard shocking pink felt @ $2.99 yard = $1.50
1 box dressmaker pins (750 count) = $4.99

I saved $6.82 for being a teacher! If you are a teacher go HERE to sign up. I use mine every time I go in.

So I spent approximately $18 dollars on 3 projects, and I've already made two of them!

Now...if I had been patient (which I am not) or had felt like going to JoAnn's on Saturday (which I did not) I could have saved even more because I would have gotten 20% off total purchase from teacher weekend and would have had two more 40% off coupons that started working after Friday.

************************************************

Now on to the project! I started a bit on Friday night but was rather slow at it. On Saturday I was ready to rock and roll (as I say to my students all the time)!

I used a camping cup (ie. cheap plastic) to make the circles on the felt.


This seemed like the most productive use of my time, though this was the last technique I tried. This was a half a yard (total of white felt) so I made 80 - 3 inch circles using 1/4 of a yard. 

Here I am cutting away!

Crafting and football! Now if only I wasn't sick :)

PS. The little scissors were KEY. If you don't have them, go buy them for this project. It was a pain-in-the-youknowwhat with big sewing scissors.

Using 1/4 yard of each of the 3 baby pink/shocking pink/white I got 80 - 3 inch circles.
That equals 240 - 3 inch circles.

I had 70 left over. So I used 170 - 3 inch circles to make one heart wreath. Phew!

Here's a little Picnik collage about how I folded the circles.
PS. Thanks Jill...I LOVE Picnik!!!


Please excuse the permanent marker nail polish! I was trying to watch football and trace circles. Sometimes the pen won!


When doing the multicolored wreath I brought up 10 of each of the 3 colors at a time to work with. I did not go get anymore until I was out of all 3. This was to help ensure that the colors would be spread evenly throughout the wreath.


Though I should mention that before I made this "Valentine's-y" one...I made the one at the top of the page. And it just might be s staple in our house for years to come. It matches our walls perfectly and I LOVE it!!