Monday, October 31, 2011

Fun Frames ~ BEWARE!!!

I had the same Fun Frames all summer...I always have plans (grand plans) for what I am going to do on my summer vacation and this summer, as in summer's past, I haven't accomplished much!! After my last post about one of my favorite's birthday party...I went on vacation, started school, and was sick from September 30th - oh, last week (which is MID NOVEMBER!!!).

Moving on...

I had a blast decorating (and shopping for decorations) for Halloween this year. I wanted to have decorations for Halloween that were on the brighter side! I decided to mainly use the colors orange, black, purple, lime green, yellow and a few silver spiders :) I think I bought about $30 worth of decorations - I was just too impatient to wait until after Halloween to decorate :)

I had a hard time choosing a word for Halloween. The words that were in the running were: BOO!, EEK!, beware, spooky, ghost. I ended up choosing 'beware' and used the "creepy" font from Microsoft Word.


The mantel during Halloween.

The standard teddy bear, some tea lights from forever ago, and candy corn*
*candy corn level suspiciously kept getting lower and lower during the month... 

I really love this piece. It is from Craft Warehouse. It is SO versatile!

Eyeball & glass bead mixture and silver spiders from Pier 1. Fuzzy balls from CW.

Subway art from the girls at eighteen25!!!

Spiders from Pier 1.

Witch's Hat from CW.

Wicker pumpkin - CW. Purple pumpkin - P1.

Teddy bear from Starbuck's. Pumpkins from CW. I wish I'd gotten a better picture of the glittery candy corn from P1. It is cute!!!

Love it!!! I should have taken pics of the other items...silly me!


Saturday, August 13, 2011

Strawberry Lemonade Cupcakes!!

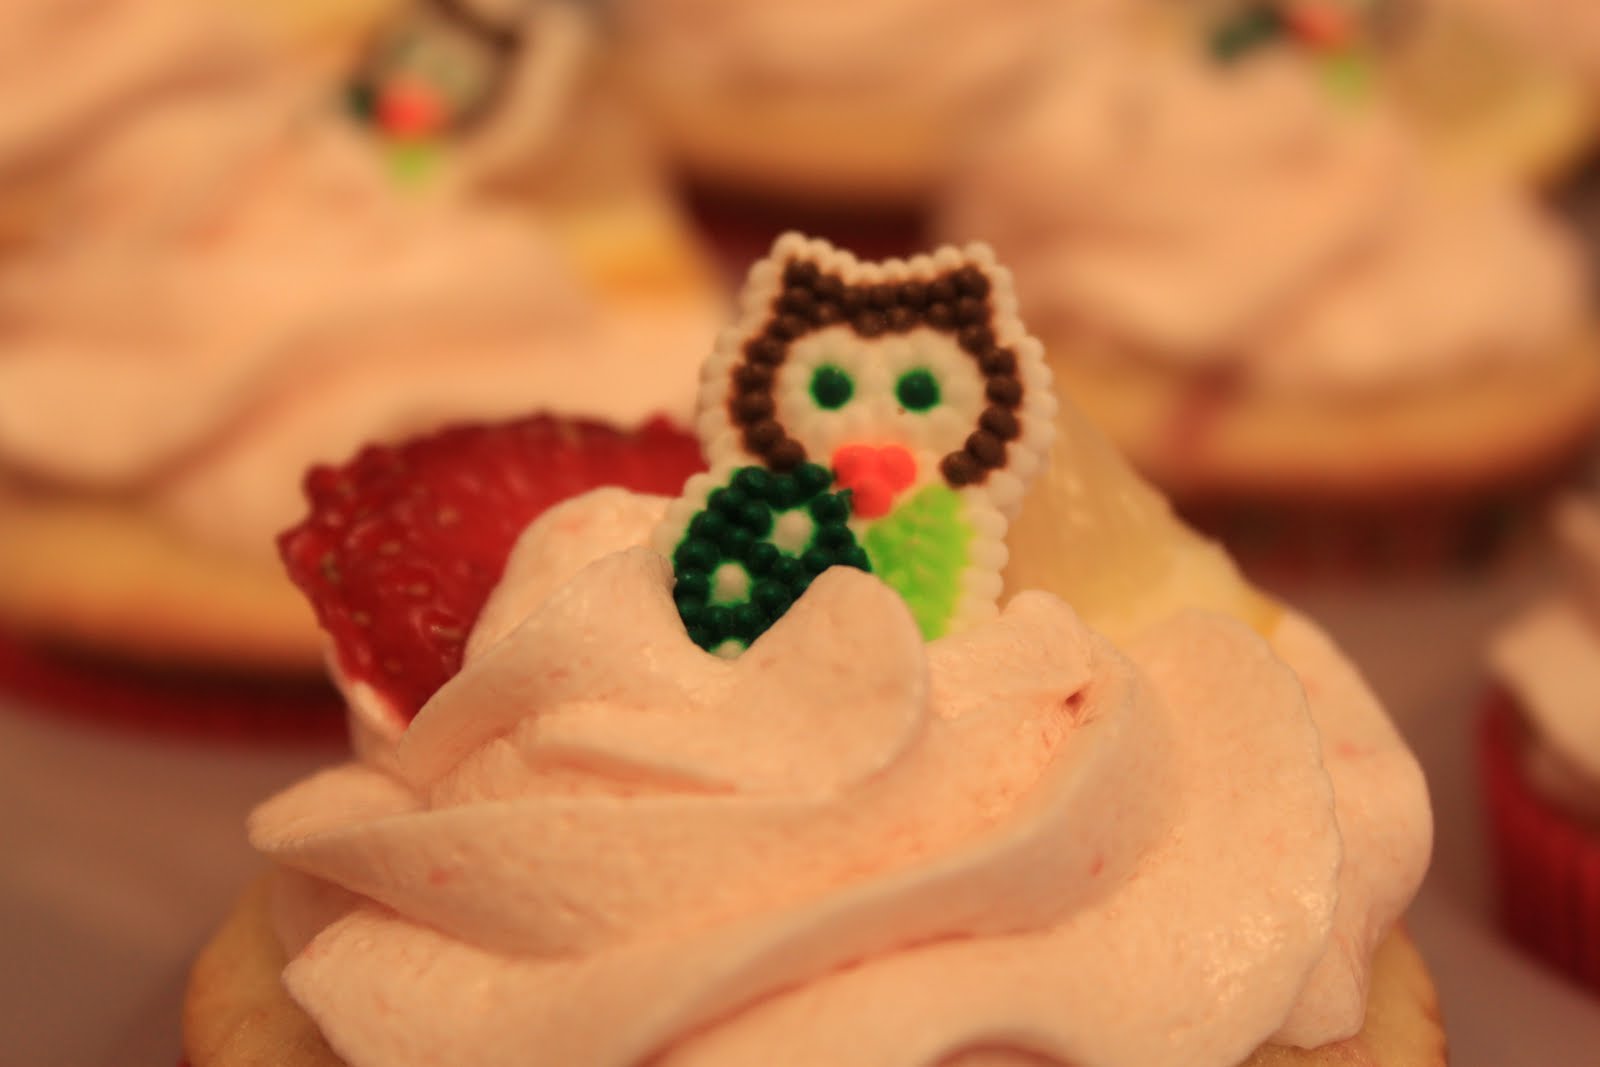
One of my favorite friends, Sabrina, recently had a birthday!! A quarter century birthday to be exact!! I wanted to bake something for her birthday party and I knew I wanted it to be summer-y so I went on a little blog hunt! I landed on one of my favorite blogs ever...Annie's Eats!! Must be in the name ;-)

I instantly decided to make her Strawberry Lemonade Cupcakes. And I am SO glad I did!! I ended up making 1 1/2 batches because she said her recipe only made 21 cupcakes. With a batch and a half I ended up with 27...so just about right. I might have overfilled a few but that's okay ;-)

It was one of those days that Jason was working, the party wasn't until 7...and I had a full camera battery. Enjoy some pictures and make sure to head over to Annie's Eats to see what she's all about!!


Yummy!!!

A little owl for the birthday girl!


Happy birthday to one of my best friends!!

Tuesday, July 19, 2011

oh.my.gosh....

I CANNOT believe I forgot to blog about this one specific event that happened this summer. Here's the background.

I pretty much love Bakerella. When I went to Cupcake Camp I met her.


It was definitely a happy moment in my {very} amateur baking career!!

Over the year and a few months that I've known about cakepops...I've made quite a few of them that you can see here. I also have NO doubt there are many more to come!!

After I made my 4th of July cakepop stand I decided to send a little email out to the one and only Bakerella...see, she has this spot on her website called pop starts. It is a goal/dream/no longer a secret of mine to be a pop start someday :) I knew this cakepop stand wouldn't get me on pop starts - but I wanted to share it.

Flash forward a few weeks...I'm sitting at my cousin's house in Phoenix, AZ. It's like midnight and we are headed for bed. I check my email one last time and I see this...


I wanted to FREAK OUT...and on the inside I kind of was!!!!!!!

I, of course, had to go check the Internet to make sure it was real....


AND IT WAS!!!

I am a dork.

Wednesday, July 6, 2011

stars, stripes, and a cakepop stand!!

For the past few rounds of cakepops I've been using some pretty simple materials to both try, transport, and display the cakepops...2 by 4's!!

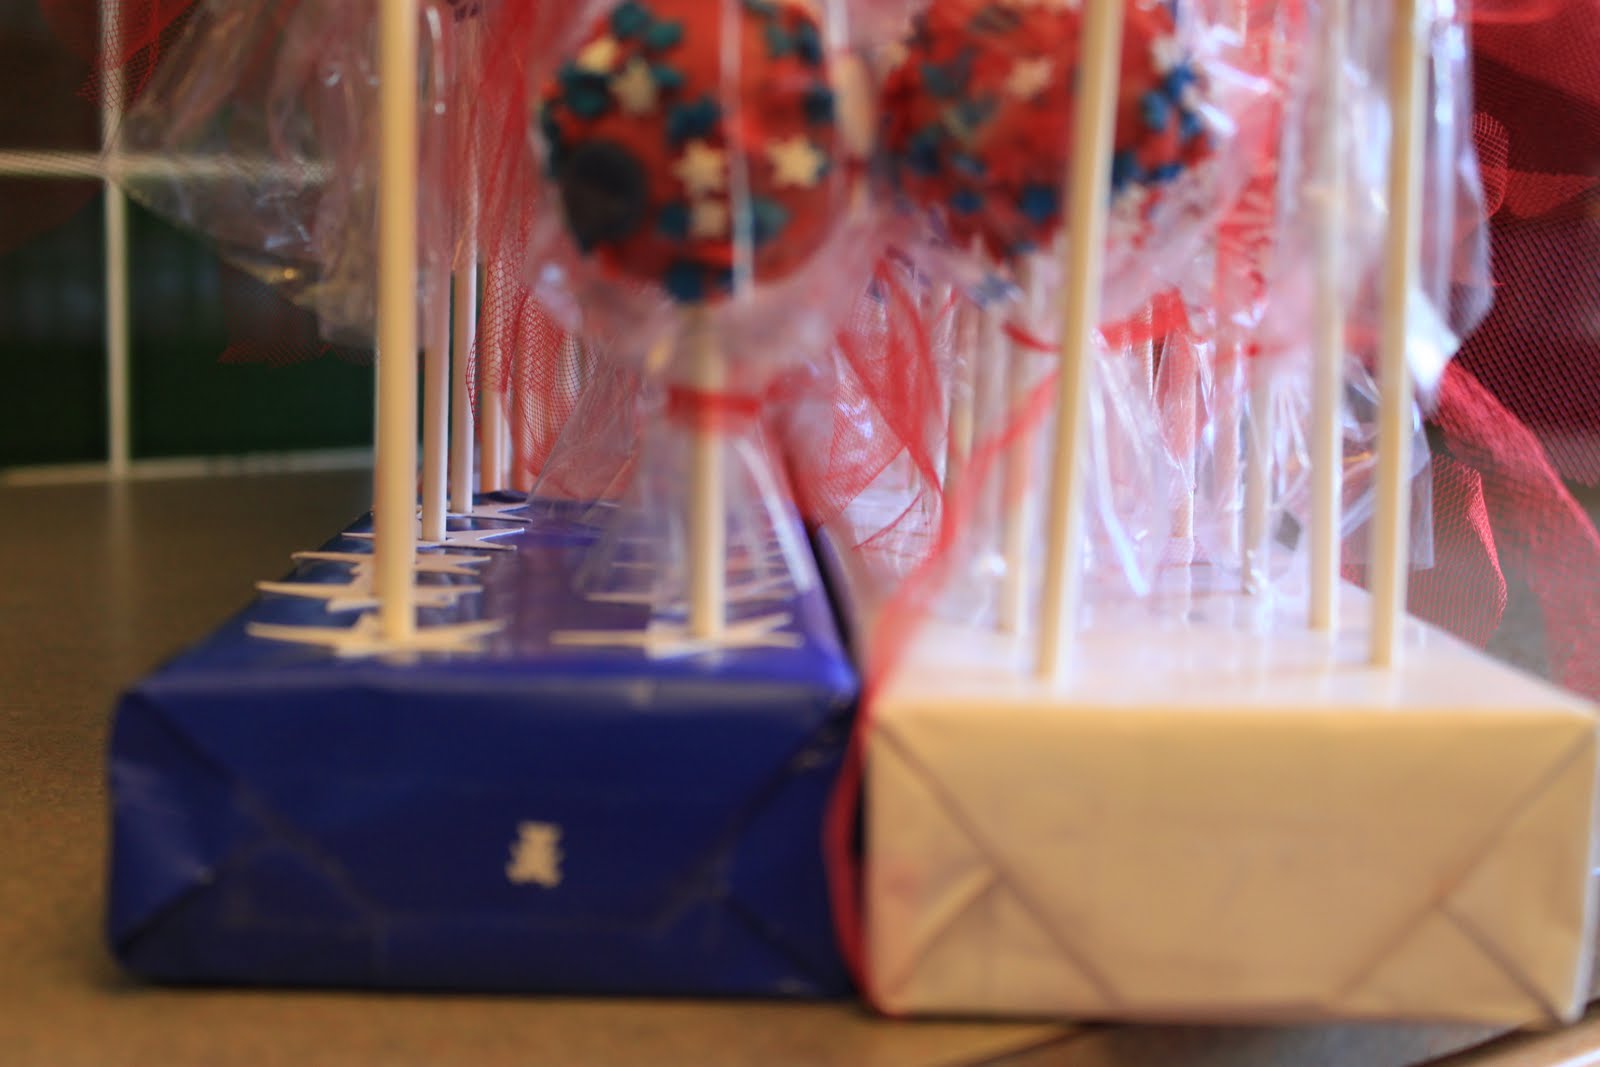
For the 4th of July I decided to spice it up a bit and add some patriotism! I decorated on of the 2x4's in all white and one in about 2/3 red and 1/3 blue...all wrapping paper. I bought the red and white and The Dollar Tree and the blue was left over from something some time ago!

The finished product.

Soooo...here is what I did :)


I started with the 2x4's blank. No pops, no nothing.


Then I wrapped just like you would a present, but maybe with some more tape, to make sure it was all very secure since I would be transporting them in the 2x4's.

One of the hardest parts was finding where the holes were. All you need to do is run your finger the length of the board where about you think the holes should be and you'll see a little divot form...like below.


I used a kabob stick to pierce the paper...


I then added the blue paper over the red paper because it was way easier!


Then it looked like this but I definitely needing something else!!


STARS!!

I used 1 1/4" stars that I cut out using my cricut. I hole punched them with a standard hole punch, though if I'd had one that was a bit smaller I definitely would have used that one!!


Then I used this sticker maker {I don't know the technical name} to adhere the stars to the stripes :)

Voila!!


In action!!!

Tuesday, July 5, 2011

stars, stripes, and 4th of July cakepops!!

 I used to make cakes...now I apparently make cakepops {not that I'm complaining}...


My dear friend Kim {seen above} wanted to learn to make cakepops and what a better excuse than the 4th of July!! On a recent trip to the Decorette Shop in Tigard, OR I picked up a wide variety of red, white, and blue sprinkles of all shapes and sizes!!

I also made a "custom cakepop stand" but more on that in a different post...


Here is a variety of the cakepops before we bagged them. It would have been a lot of work to get a picture of every single one...but I think you get the jist :) There were so many cute ones.

We used two melting pots, one all red and one started white and then we use Wilton Sky Blue oil candy color to tint it. I used AmeriColor Edible markers to write the letters U S A on some of the pops. Inside of the pops are two different flavors, Red Velvet with Cream Cheese and White cake with Vanilla frosting, half of which I dyed blue for the occasion :)

I also made a really sweet carrier/displayer!


Here's a sneak peak :)


From the end.

At the party :)

These were SO much fun.

On a side note, the hostess of this party has asked me to make cakepops for another event she is attending...it is my first official cakepop order :)

Sunday, June 26, 2011

fun frames...spring {patience}

This spring for us has been about patience. Patience with each other, with situations we are in, with ourselves. These fun frames have actually been up for a while but I just got around to blogging about them. The end of the year for a teacher is...busy, to say the least!!

I knew this was the word I wanted to use but I didn't know colors or anything so I went to craft warehouse for some inspiration...and I found some {surprise, surprise}. I saw a lot of fun spring colors but decided I liked the green/pink/white color palette best. Since I can't change the red/khaki of the walls I figured this would go good together! Plus basically everything except for the pink I could reuse in other seasons...BONUS :-)


I used my Cricut to cut the letters, SureCutsALot to make the letters and flowers, and DaFont.com to find the letters - These letters are called "sunshine poppy" and they are my favorite!! Once I had the following decor I needed to decide what colors to make all the pieces of the fun frames. Looking back I kind of wish I'd done the green on the background, the white on the letters, and kept the pink flowers, alas, I did not.


The mantel. The wooden piece with the glass votives can be changed out every season!!
Thanks to the girls at eighteen25 for the Subway Art!!


Spring votive.


The space above the TV.

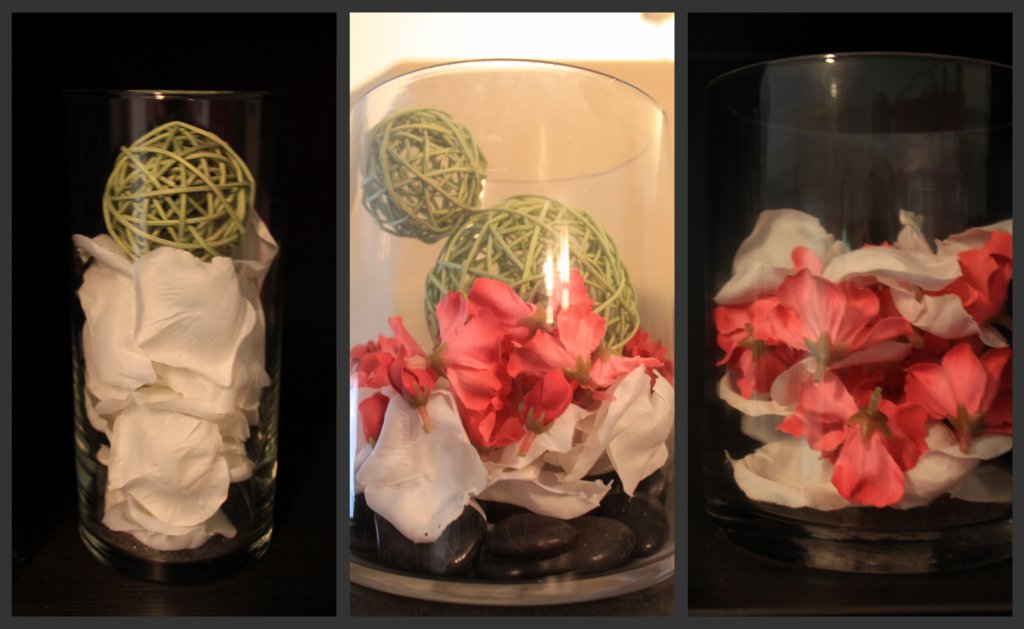
The three hurricanes. Similar colors, different sizes and fillings!!
These are all above the TV.

Sunday, June 12, 2011

Reese's Pieces Cookies

These are one of my favorite cookies!!! They are sweet, a tiny bit salty, and include Reese's Pieces candies!!!

{from the iPhone}

Reese's Pieces Cookies

1 C Liquid Shortening (Vegetable Oil)
1 C Brown Sugar - packed
1/2 C White Sugar
2 Eggs
2 tsp Vanilla
2 1/4 C Flour
1 1/2 tsp Baking Soda
1 tsp Salt
Reece's candies

Bake at 350 degrees for 9 minutes. Cookie will 'settle' after they come out of the oven. Take out when light/golden brown. They will look a 'undone' or not as dark as the end result.